Home My Course Wishlist Settings
Light/Dark Mode Toggle
Floating Button with Pulse Animation
Need Help?

Blender Texturing & Shading (English)

Wishlist Share
Share Course
Page Link
Share On Social Media

About Course

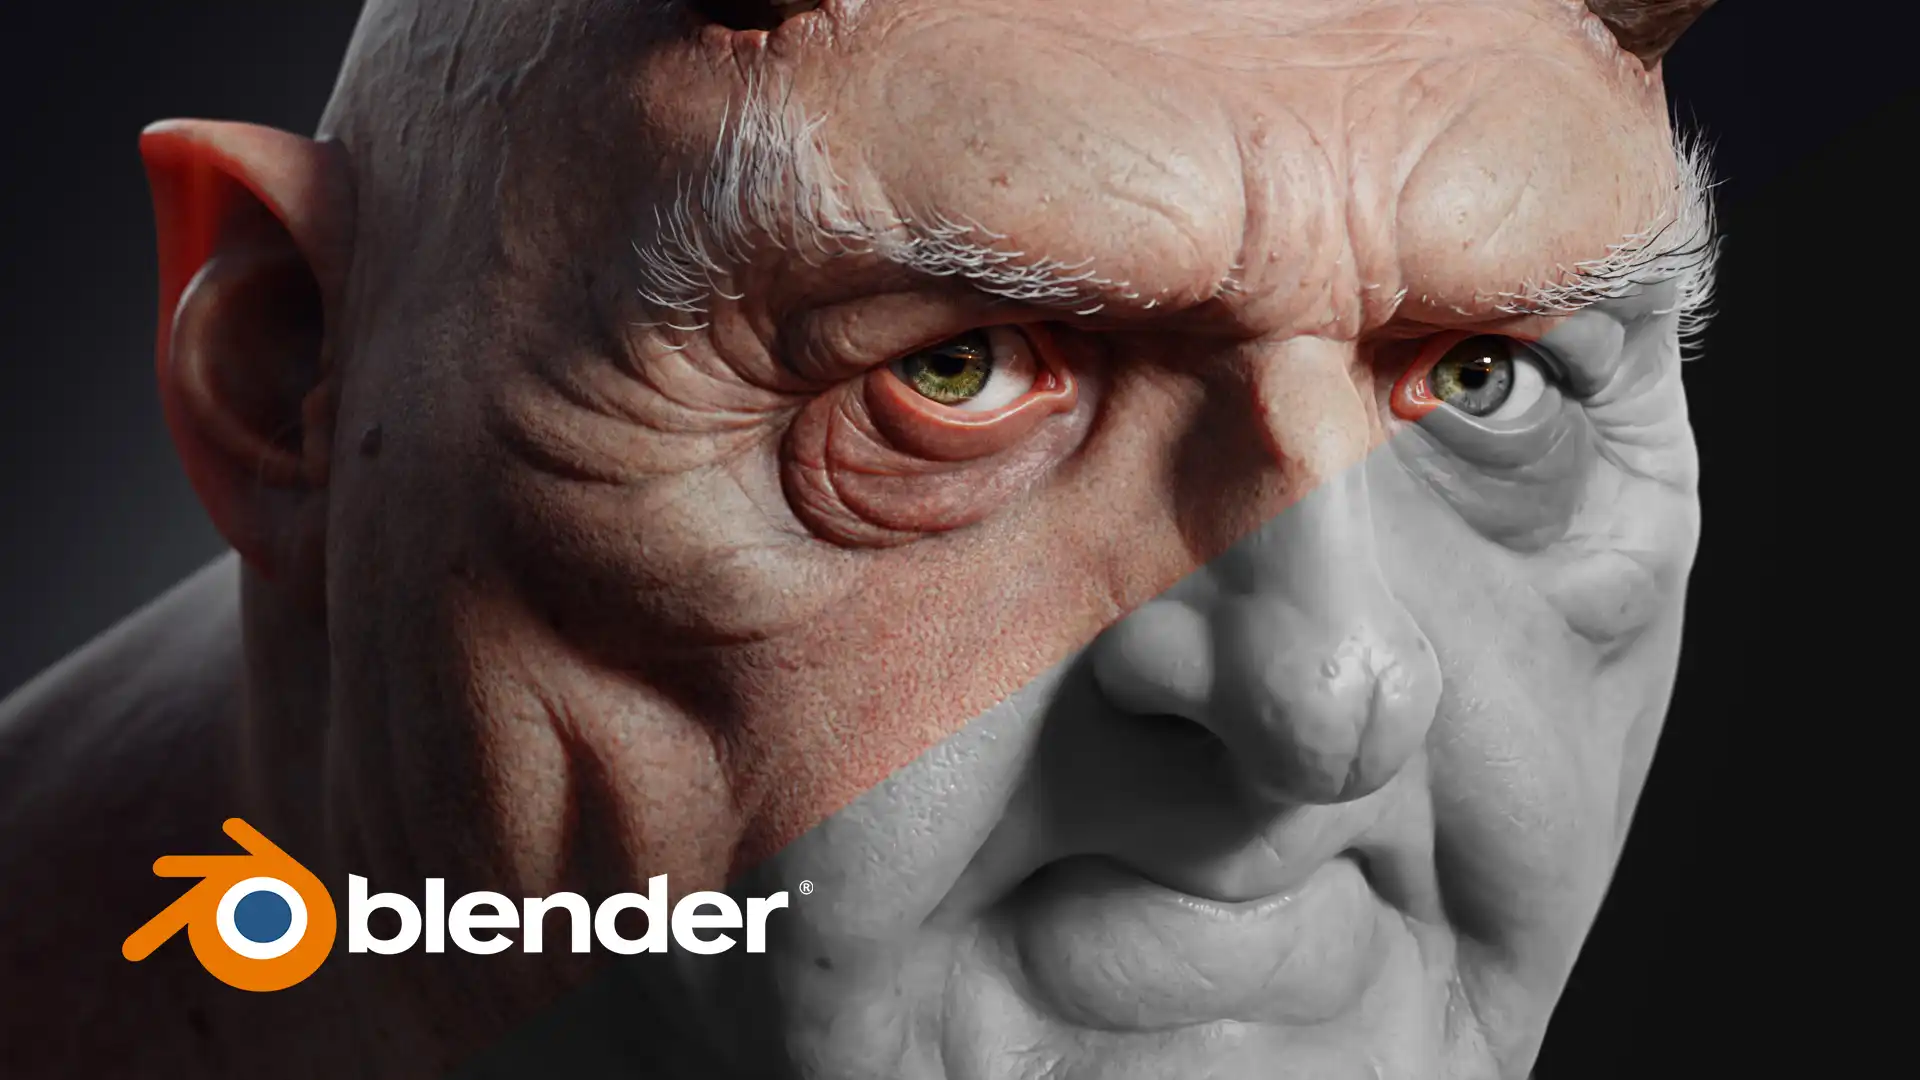
Learn the art of texturing and shading in Blender with this comprehensive Hindi course. Start with the basics of UV mapping, material creation, and applying textures, then progress to advanced techniques like procedural texturing, PBR workflows, and creating realistic shaders using Blender’s powerful node-based system. Explore how to use bump maps, normal maps, displacement maps, and how to achieve photorealistic results for 3D models. Perfect for 3D artists and VFX professionals who want to master texturing and shading in Blender for high-quality renders.

Course Road Map ( Step By Step learning Process )

  • Step 1: Introduction to Blender for Texturing & Shading (Pre Production)
  • Step 2: Blender Interface Overview and Navigation for Texturing (Pre Production)
  • Step 3: Setting Up Projects and File Organization for Texturing (Pre Production)
  • Step 4: Understanding the Concept of UV Mapping (Pre Production)
  • Step 5: Basic UV Unwrapping Techniques in Blender (Pre Production)
  • Step 6: Introduction to Blender Shading and Materials System (Pre Production)
  • Step 7: Working with Blender’s Node-Based Shading System (Pre Production)
  • Step 8: Applying Basic Materials and Textures to 3D Models (Pre Production)
  • Step 9: Introduction to PBR (Physically Based Rendering) Materials and Workflow (Pre Production)
  • Step 10: Advanced UV Unwrapping and Seamless Texturing (Production)
  • Step 11: Creating and Using High-Quality Textures (Diffuse, Specular, Normal, Roughness, etc.) (Production)
  • Step 12: Mastering the Node Editor for Custom Shaders (Production)
  • Step 13: Creating Realistic Textures for Organic and Hard-Surface Models (Production)
  • Step 14: Working with Image Textures and Procedural Textures (Production)
  • Step 15: Advanced Shading Techniques (Subsurface Scattering, Emission, Transparency, etc.) (Production)
  • Step 16: Using Texture Painting Tools for Custom Textures (Production)
  • Step 17: Working with Blender’s Baking System for Textures (Production)
  • Step 18: Creating Realistic Lighting to Enhance Shading and Textures (Production)
  • Step 19: Rendering with Blender Cycles and Eevee for High-Quality Visuals (Production)
  • Step 20: Finalizing Textures and Shaders for Production-Ready Models (Post Production)
  • Step 21: Optimizing Textures and Shaders for Game Engines (Post Production)
  • Step 22: Exporting Models and Textures for Animation, Rendering, or Games (Post Production)
  • Step 23: Refining and Adjusting Shaders for Different Render Engines (Post Production)
  • Step 24: Career Guidance and Job Search in 3D Texturing & Shading Industry (Career Guidance)

Course Content

Basic To Advance Classes

  • Class 1
  • Class 2
  • Class 3
  • Class 4
  • Class 5
  • Class 6
  • Class 7
  • Class 8
  • Class 9
  • Class 10
  • Class 11
  • Class 12
  • Class 13
  • Class 14
  • Class 15
  • Class 16
  • Class 17
  • Class 18
  • Class 19
  • Class 20
  • Class 21
  • Class 22
  • Class 23
  • Class 24
  • Class 25
  • Class 26
  • Class 27
  • Class 28
  • Class 29
  • Class 30

Final Test

Career guidance

Course Certificate

Add this certificate to your resume to demonstrate your skills & increase your chances of getting noticed.

selected template

Want to receive push notifications for all major on-site activities?